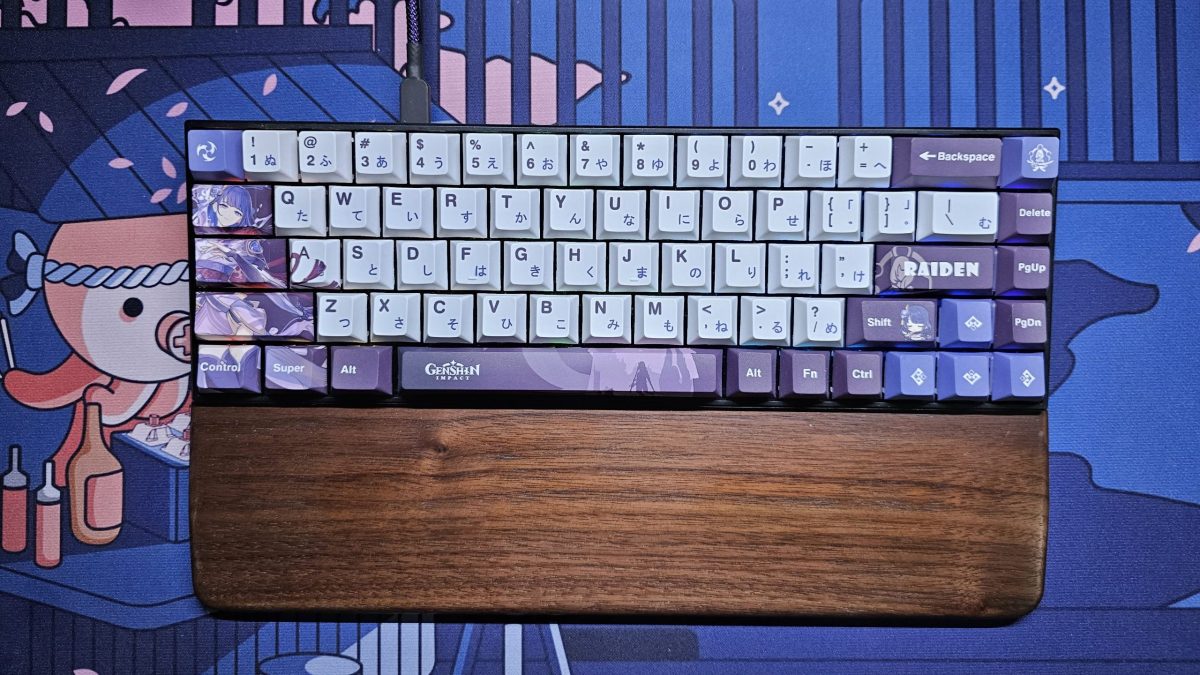
Are you tired of the boring and uninspiring membrane keyboards that come with your computer? Do you want to fine tune your typing experience to your liking? Then it’s time to build your own custom keyboard!
Building your own custom keyboard can seem daunting, but with the popularity of hot-swappable keyboards, it is actually way easier than it seems.
In this article, we will guide you through the process of building your first custom keyboard step by step. From choosing your parts to assembling your keyboard, we’ve got you covered.
The first step in building your custom keyboard is to choose your parts. There are several components that you’ll need to consider, including keyboard form factor, mechanical switches, keycaps, and more.
Understanding Custom Keyboard Sizes
Most custom keyboards nowadays are hot-swappable, meaning that switches can be installed and swapped on the fly without the need of soldering tools. This makes building custom keyboards more accessible and easier for newcomers.

One major advantage of custom keyboards is the plethora of keyboard form factors to choose from, each containing different amount of keys and sizes for different users, with the most common being:
Full Size
The most common keyboard form factor is full-size. Full-size keyboards have all 104 keys, including a number pad and function keys. They are typically the largest and most ergonomic form factor, but they can be difficult to travel with and take up a lot of desk space.
People who crunch numbers all day would prefer having a number pad within reach, making it a great keyboard for office use.
Tenkeyless (TKL)
Tenkeyless keyboards, also known as TKL or 80%, have all the keys of a full-size keyboard except for the number pad. This makes them smaller and more portable than full-size keyboards, while still providing most of the functionality.
TKL keyboards are a popular choice for gamers and typists who want a more compact keyboard without sacrificing too much functionality.
75%
75% keyboards are basically compact TKL keyboards, retaining the f-row and arrow keys, making it a good middle ground between compact and TKL keyboards.
Compact
Compact keyboards are even smaller than TKL keyboards and typically lack dedicated arrow keys and function keys. They are often referred to as 60% keyboards and have only 60% of the keys of a full-size keyboard.
Compact keyboards are popular with gamers and programmers who want a minimalistic design that frees up desk space for other equipment.
Mechanical Switches

Mechanical switches are the heart of your keyboard. They determine the feel and sound of each keypress. There are three main types of mechanical switches, which are linear, tactile and clicky.
Each type has its own unique characteristics, such as the actuation force required to press the key or the sound it produces. It’s important to choose switches that match your typing preferences.
Linear Switches
Linear switches are the most common type of mechanical switch in the market. As the name suggests, it offers a smooth and linear typing experience until you bottom out. They are usually quieter when compared to the other two switch types.
Tactile Switches
Tactile switches rank second in terms of popularity. You will feel a tactile bump as you type, hence the name. The bump is usually an indicator when the key is actuated.
Clicky Switches
Clicky switches are basically tactile switches with an audible click upon actuation. When you think of stereotypical noisy gamer keyboards, they most likely have clicky switches.
Keycaps
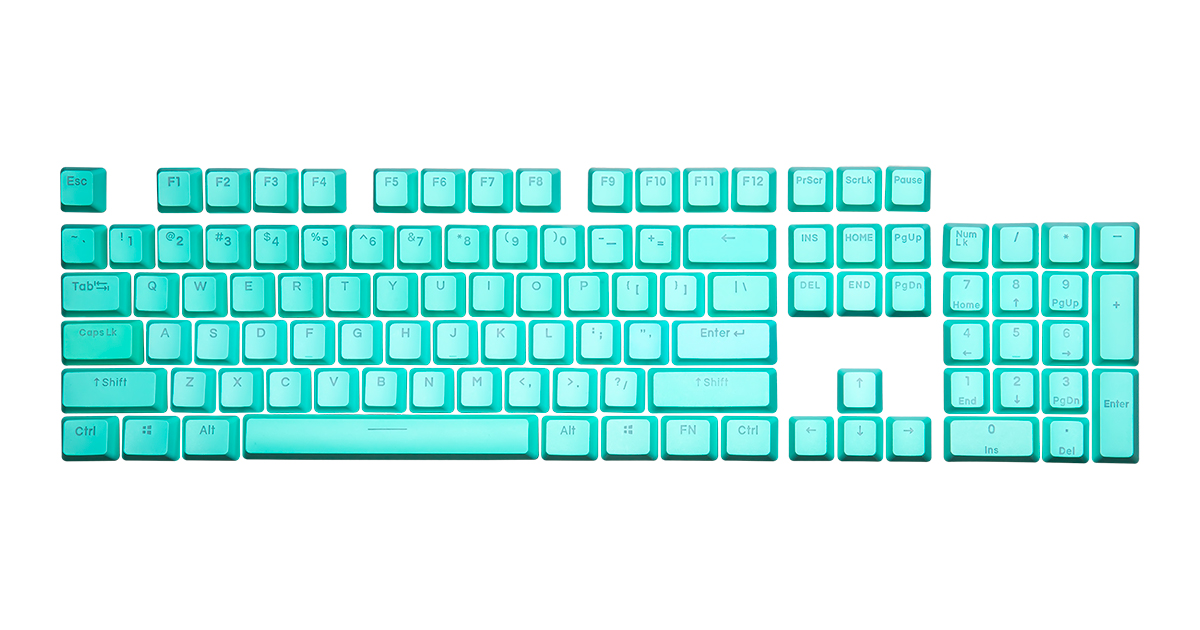
Keycaps are the covers that go on top of your switches. They come in a variety of shapes, sizes, and materials. While most keycap sets are made of PBT plastic, some come with more exotic materials such as ceramic or even metal. It’s important to choose keycaps that fits your typing preference match your keyboard’s overall aesthetic.
Switch Lube
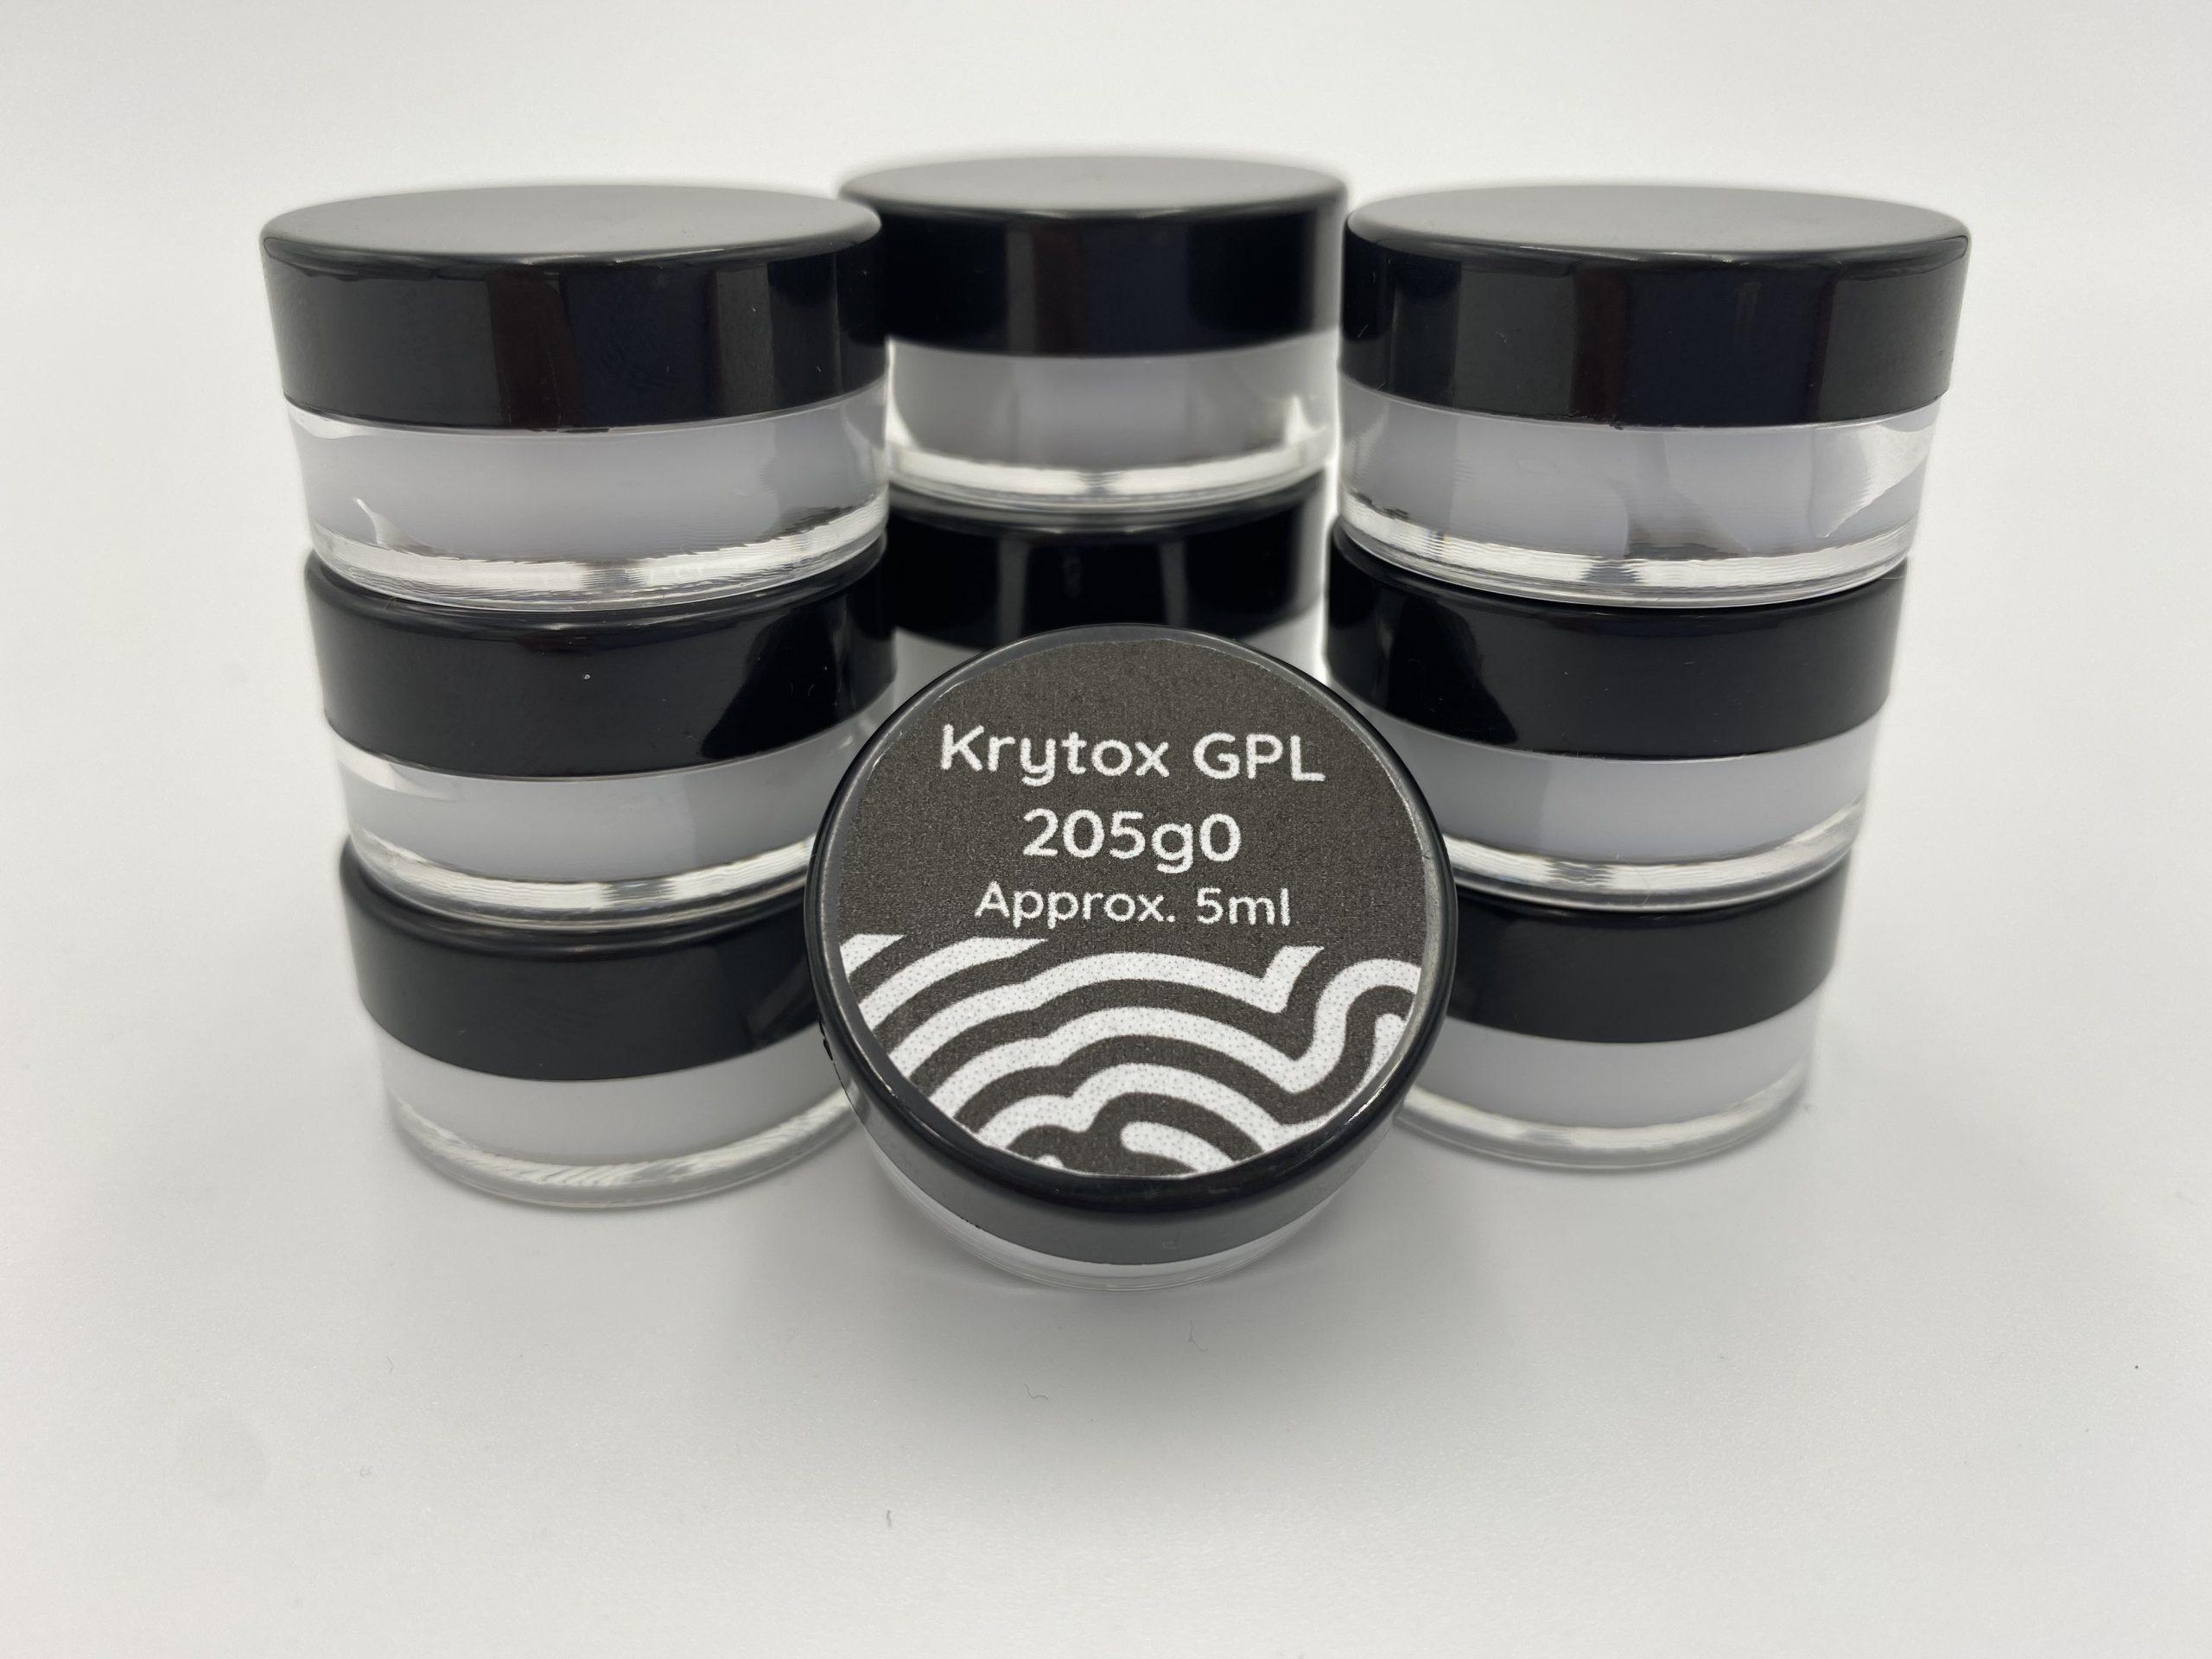
Keyboard switch lube, also known as keyboard lubricant or keyboard grease, is a substance that can be applied to mechanical keyboard switches to improve their performance and feel. Switch lube is a popular modification among keyboard enthusiasts and gamers who want to fine-tune their typing experience.
Sound Dampening Foam
Sound dampening foam is a type of material that can be added to mechanical keyboards to reduce the sound of the switches when they are pressed. The foam is typically made of a soft, porous material that absorbs the sound waves produced by the switches. Popular foam types include neoprene, poron and more.
It’s important to note that sound dampening foam can also affect the feel and performance of the keyboard switches. It is entirely up to personal preference to fine-tune how the keyboard sounds, so feel free to experiment.
Building Your Keyboard
Once you’ve chosen your parts, it’s time to start building your keyboard. This process can be take a while, but with the right tools and guidance, it can be a fun and rewarding experience.
Pre-Assembly: Tools You Need
- Screwdriver
- Keycap remover
- Switch remover
- Optional:
- Switch lube
- Switch stem holder
- Dielectric grease
- Lube brush
- Lube station
1. Assembling The Barebones Keyboard
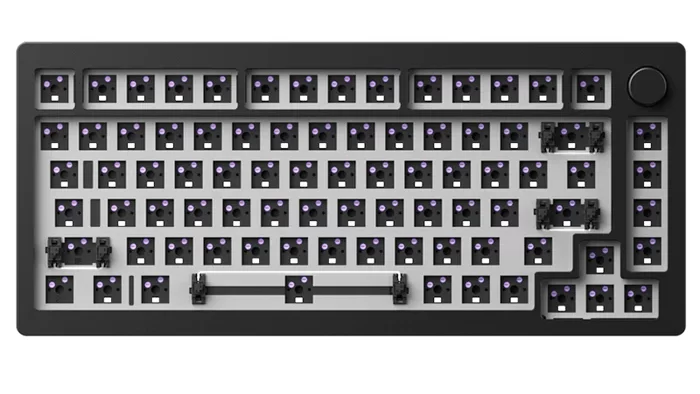
While most barebones custom keyboard comes preassembled, some may come with optional sound dampening foam and different types of plates. Fortunately for beginners, keyboards often come with assembly guides to help you get the barebones keyboard together.
Optional: Add Sound Dampening Foam
To add sound dampening foam to a keyboard, the foam is typically cut to fit the inside of the keyboard case. The foam is then placed between the PCB (printed circuit board) and the case, or on top of the PCB. This helps to absorb the sound waves before they can bounce around the inside of the case and amplify the sound.
Optional: Lubing Your Switches

While it is not necessary to lubricate your switches, we highly recommend it to make your switches feel smoother and consistent to type on.
Apply a small amount of lube to the switch components, such as the stem, spring, and housing. Use a small brush or applicator to apply the lube evenly and sparingly. Be careful not to apply too much lube, as this can cause the switch to become sticky or sluggish.
Optional: Lubing Your Stabilisers
To lubricate keyboard stabilizers, first remove the keycap and the stabilizer bar. Clean any dirt or debris from the stabilizer housing with a soft-bristled brush or compressed air. Apply a small amount of stabilizer lubricant to the inside of the housing and the stabilizer bar. Reassemble the stabilizer and test it to make sure it’s working smoothly.
Be careful not to use too much lubricant, as this can cause the stabilizer to feel mushy or unresponsive.
2. Mounting Your Switches
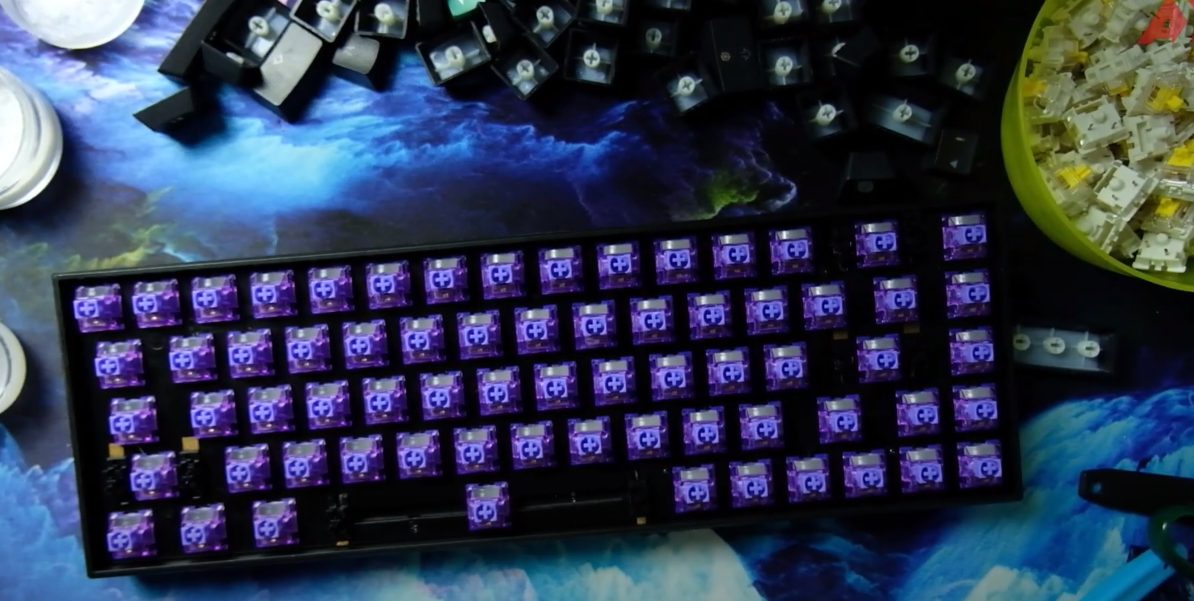
Once it’s time to mount your switches onto your custom keyboard. This involves inserting each switch into its designated spot on the PCB and securing it in place. It’s important to be careful not to bend or break any of the pins on your switches.
3. Attaching Your Keycaps
Once your switches are mounted, it’s time to attach your keycaps. This process involves placing each keycap onto its corresponding switch and pressing down firmly until it clicks into place. You know your keycaps installation is correct when keys in each row looks flush.
4. Test Your Custom Keyboard On A PC

Once everything is assembled, you can connect your new custom keyboard to your PC. We suggest testing the keyboard with Keyboard Test to make sure each key can be detected by your computer.
Decorate Your Desk With Accessories

If you have seen other custom keyboard builds on the internet, chances are they will decorate their desk with a fancy desk mat and wrist rest. Not only do these decorations make your setup look cooler, but they improve the overall comfort while typing. There are also custom coiled aviator cables that come in a variety of colours to complement your keyboard’s aesthetics.
Do give these accessories a try and make your custom keyboard and desk setup uniquely yours!


